To encrypt a file, you scramble its contents with a password or key so that only someone who has that password or key can open it. On Windows you can use the built-in Encrypting File System or a free tool like 7-Zip; on a Mac, Disk Utility can create an encrypted disk image.
You have a spreadsheet of client data. Or a scanned passport. Or a folder of signed contracts. It sits on your laptop, and soon it needs to go to someone else.
This guide explains how to encrypt a file on Windows and on a Mac, how to encrypt a file with a password so it stays protected when it travels, and the one mistake that undoes all of it: sending the password with the file.
Quick Summary
- Windows Pro and above: right-click the file, choose Properties, then Advanced, and tick Encrypt contents to secure data. Microsoft says this is not available in Windows Home.
- Mac: Disk Utility can create an encrypted disk image protected by a password. FileVault encrypts the whole drive.
- Any computer, with a password: 7-Zip creates AES-256 encrypted 7z or ZIP archives for free.
- Drive encryption (BitLocker, FileVault) protects files on a lost laptop. It does not protect a copy you attach to an email.
- Never send the password in the same email as the file. Share it by phone or text.
In This Guide
What Does It Mean to Encrypt a File?
Encrypting a file means converting its contents into unreadable data that can only be turned back into the original with the correct password or key. Anyone who copies the encrypted file without that password sees scrambled bytes, not your document.
The Canadian Centre for Cyber Security puts it simply in its guidance ITSAP.40.016: “Encryption encodes (or scrambles) information,” and it protects confidentiality “by preventing unauthorized individuals from accessing it.” The same guidance separates two situations, and the difference matters for this article:
- Data at rest: files stored on a laptop, a USB drive or a server.
- Data in transit: files moving from one place to another, such as an email attachment.
Most modern tools use AES, the Advanced Encryption Standard. NIST’s FIPS 197, first published on November 26, 2001 and updated on May 9, 2023, specifies three versions, AES-128, AES-192 and AES-256, where “the numerical suffix indicates the bit length of the associated cryptographic keys.” AES-256 is the strongest of the three and the one to choose when a tool offers it.
For the bigger picture of why this protection matters for a business, see why encryption is important.
How to Encrypt a File on Windows
On Windows 10 and 11 Pro, Enterprise or Education, you can encrypt a file by right-clicking it, choosing Properties, then Advanced, and ticking “Encrypt contents to secure data.” Windows Home does not include this option, so Home users can use device encryption for the whole drive or 7-Zip for a single file.
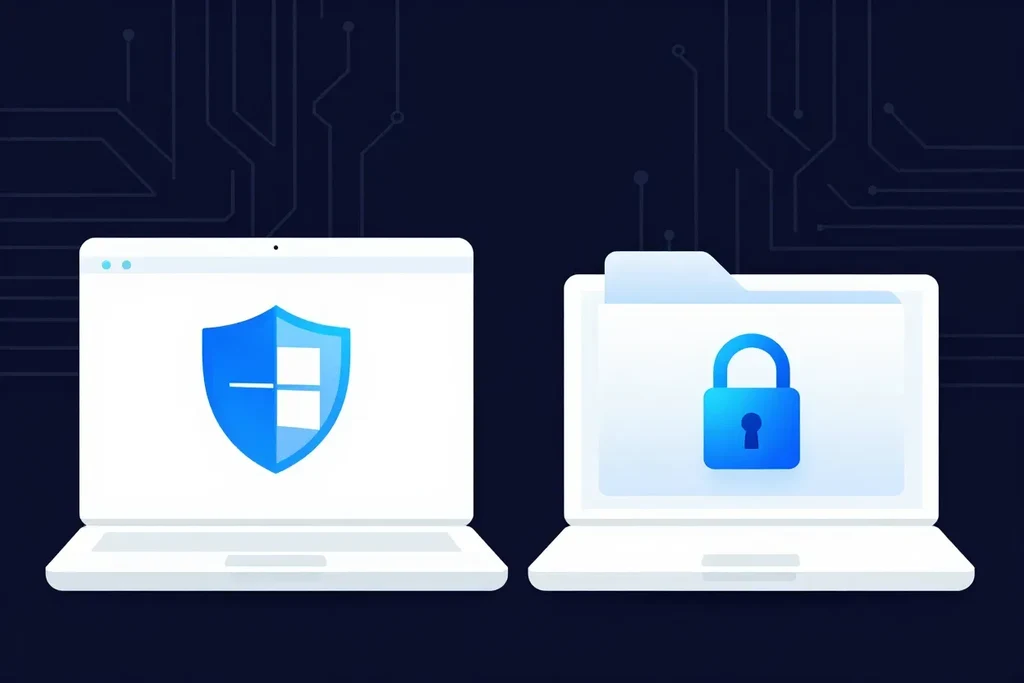
Method 1: Encrypting File System (Windows Pro and Above)
The Encrypting File System (EFS) encrypts individual files and folders and ties them to your Windows account. Microsoft’s steps are:
- Right-click the file or folder and select Properties.
- Select Advanced…
- Select the Encrypt contents to secure data check box.
- Select OK, then Apply, then OK.
Microsoft notes that “file encryption is not available in the Home edition of Windows.” According to Microsoft Learn, EFS protects individual files “on NTFS file system volumes,” which is why it is designed for files kept on your own computer rather than files you send. The protection belongs to that drive, so it does not travel with a copy you attach to an email.
Method 2: Device Encryption or BitLocker (Whole Drive)
If you want every file on the laptop protected, encrypt the drive instead. Microsoft’s support page says Device Encryption “enables BitLocker encryption automatically for the operating system drive and fixed drives” and is available on Windows Home, while full BitLocker Drive Encryption is available on Windows Pro, Enterprise and Education. To check it, open Settings > Privacy & security > Device encryption and turn it on.
Microsoft also says a recovery key is attached to your Microsoft account when device encryption turns on. Make sure you know where it is before you need it.
Method 3: 7-Zip With a Password (Any Edition)
To encrypt a file with a password on any version of Windows, use 7-Zip, a free, open-source archiver. Its site lists “strong AES-256 encryption in 7z and ZIP formats” and support for Windows 11, 10 and older versions.
- Install 7-Zip, then right-click the file and choose 7-Zip > Add to archive…
- Set Archive format to 7z (or ZIP if the recipient cannot open 7z files).
- Under Encryption, enter a strong password twice and make sure the method is AES-256.
- For 7z archives, tick Encrypt file names so the list of files is hidden too.
- Click OK. Keep the original only if you need it, and store it safely.
If you choose ZIP, pick AES-256 rather than ZipCrypto, the older ZIP method, which is much weaker. File Explorer’s own “Compressed (zipped) folder” option does not add a password at all.
How Do You Encrypt a File on a Mac?
On a Mac, the built-in way to encrypt a file or folder is to put it in an encrypted disk image with Disk Utility. The image opens only with the password you set. FileVault, in System Settings, encrypts the entire startup drive instead of a single file.
Create an Encrypted Disk Image
Apple’s Disk Utility guide describes creating a secure disk image:
- Open Disk Utility (in Applications > Utilities).
- Choose File > New Image > Blank Image. To encrypt an existing folder, choose Image from Folder instead.
- Name the image and choose where to save it.
- Click the Encryption pop-up menu and choose an encryption option (choose 256-bit AES).
- Enter and re-enter a password, then click Choose.
- Click Save, then Done. Copy your files into the mounted image, then eject it.
Apple’s warning is worth repeating: “If you forget this password, you won’t be able to open the disk image and view any of the files.” The resulting .dmg file can be copied or sent, and it stays locked until someone enters the password on a Mac.
Turn On FileVault for the Whole Drive
FileVault protects everything on the Mac if it is lost or stolen. According to Apple, on a Mac with Apple silicon or an Apple T2 Security Chip, “your data is encrypted automatically,” and FileVault adds the requirement of your login password. Turn it on in Apple menu > System Settings > Privacy & Security > FileVault. Like BitLocker, it protects the drive, not a copy of a file you send.
For PDFs specifically, Preview and Adobe Acrobat can add a password directly. Our guide on how to password protect a PDF walks through both.
How Do You Encrypt a File With a Password?
To encrypt a file with a password, use a tool that encrypts the file itself rather than the drive: a 7-Zip archive with AES-256, an encrypted Mac disk image, or the “Encrypt with Password” option built into Microsoft Office. The protection then stays with the file wherever you copy or send it.
For Word documents, Microsoft’s instructions are to go to File > Info > Protect Document > Encrypt with Password, enter the password, confirm it and save. Excel and PowerPoint offer the same option under Protect Workbook and Protect Presentation. Microsoft adds: “If you lose or forget your document password, Word won’t be able to recover it for you.”
Here is how the main methods compare:
| Method | Works on | What it protects | Stays protected when sent? |
|---|---|---|---|
| Encrypting File System (EFS) | Windows Pro, Enterprise, Education | Files and folders on your PC | No |
| Device Encryption / BitLocker | Windows (Home has Device Encryption) | The whole drive | No |
| FileVault | Mac | The whole startup drive | No |
| 7-Zip archive (AES-256) | Windows (free) | The files inside the archive | Yes, with the password |
| Encrypted disk image | Mac (Disk Utility) | The files inside the image | Yes, with the password |
| Office “Encrypt with Password” | Word, Excel, PowerPoint | That one document | Yes, with the password |
A practical rule: use drive encryption on every laptop you own, and use file-level encryption for anything that has to leave it.
Does an Encrypted File Stay Protected When You Send It?
A file encrypted with a password stays protected when you send it, but only if the password travels separately. Drive encryption such as BitLocker or FileVault does not travel with the file at all: the copy you attach to an email is readable by anyone who receives it.
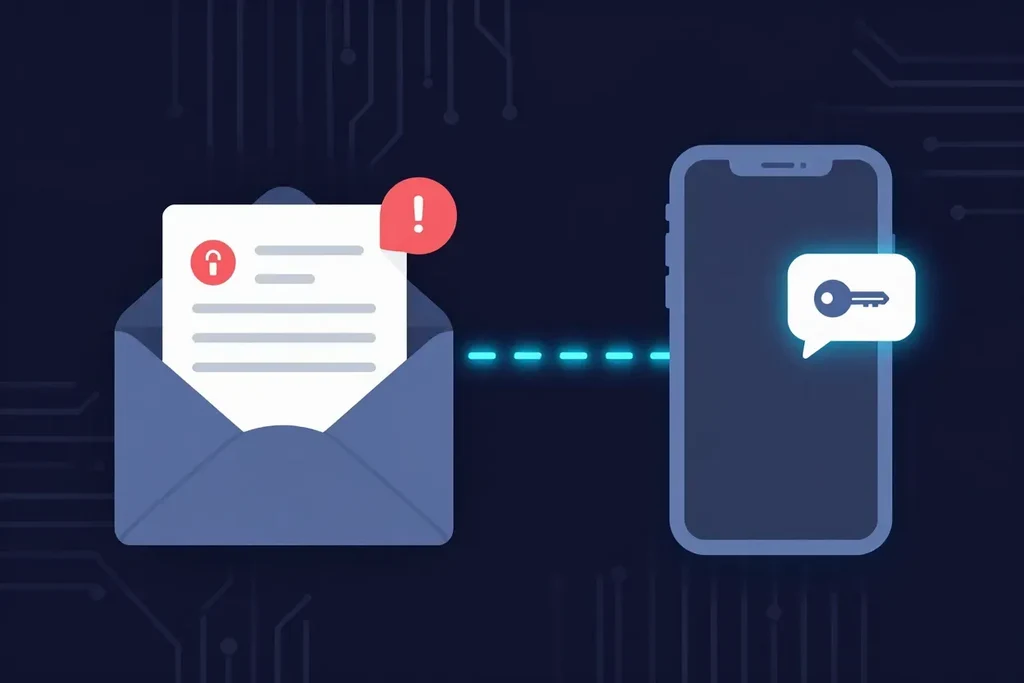
The most common mistake is writing the password in the same email as the encrypted attachment. If that email is forwarded, sent to the wrong address through auto-complete, or read on a compromised account, the encryption protects nothing. Other problems to watch for:
- Weak passwords. A short or guessable password can be cracked offline, because an attacker with the file can try as many guesses as they like.
- Attachment size limits. Email services cap attachment size, so large archives bounce. Our guide to sending a secure email in Gmail covers the limits and what Gmail does and does not encrypt.
- No control after sending. Once an attachment is delivered, you cannot take it back, set it to expire or see whether it was opened.
- Recipient friction. A client on a phone may not be able to open a 7z archive or a Mac disk image at all.
If you send from Microsoft 365, the built-in message encryption is another option for smaller files; see how to encrypt email in Outlook.
What Is the Easiest Way to Send an Encrypted File?
The easiest way to send a sensitive file is a secure file transfer link: you upload the file, the recipient opens it in a browser with a passphrase you share separately, and the link expires. There is no archive to build and nothing for the recipient to install. This is where SureSend comes into the picture.
SureSend is a Canadian secure file transfer service that sends files through a passphrase-protected link that expires on a date you choose. SureSend uses server-side encryption: files are protected with TLS in transit and AES-256 encryption at rest, with encryption keys managed by SureSend. Here is exactly how it works:
- Create a transfer. Sign in, add one or more recipient email addresses, upload your files, and choose an expiry date of up to 21 days.
- Set a passphrase. SureSend emails each recipient a secure link, but the passphrase is never included in that email. You share it separately, by phone or text.
- The recipient downloads. They open the link, enter the passphrase, and download the files. They do not need a SureSend account.
- Track and control it. Your dashboard shows when the transfer is retrieved. You can cancel it before it is downloaded, and it expires automatically.
After you send, SureSend reminds you to share the passphrase separately, the same rule that applies to any encrypted file.
Each transfer allows one successful download. If the download is interrupted, for example because the tab was closed, the recipient can try again until one download completes; after that the link cannot be used again, and the transfer’s status updates to Retrieved.
| Encrypted attachment | SureSend | |
|---|---|---|
| Setup | Create a 7z, ZIP or disk image yourself | Upload the file in your browser |
| Recipient needs | Software that can open the format | A browser and the passphrase |
| Size | Limited by the email service | Up to 2 GB per transfer (Pro) |
| Expiry | None; the copy stays in their inbox | A date you choose, up to 21 days |
| Tracking | None | Status shows Retrieved, Expired or Cancelled |
| Encryption | Depends on the tool and password | TLS in transit, AES-256 at rest (server-side) |
The free Starter plan lets you try it, and Pro is $7 CAD/month plus applicable taxes. For other ways to send sensitive files, compare the options in how to send documents securely online.
Send Sensitive Files Without Building an Archive
SureSend uses server-side encryption: TLS in transit and AES-256 encryption at rest, with keys managed by SureSend. Send up to 2 GB per transfer, protect it with a passphrase you share separately, set an expiry of up to 21 days, and see when it is retrieved. Your recipient needs no account. New subscribers get 30 days of Pro free, with no credit card required. Start sending securely for free.
A Quick Workflow That Works
To keep a sensitive file protected from your laptop to your recipient:
- Turn on drive encryption: Device Encryption or BitLocker on Windows, FileVault on a Mac.
- For a file that has to be stored elsewhere, encrypt the file itself with AES-256 (7-Zip, a Mac disk image or Office’s Encrypt with Password).
- Use a long, unique password and keep it in a password manager.
- To send the file to a person, use a passphrase-protected link that expires.
- Share the password or passphrase by phone or text, never in the same email.
- Check that the transfer was retrieved, and cancel it if it went to the wrong person.
Frequently Asked Questions
How do I encrypt a file in Windows 11 Home?
Windows 11 Home does not include the Encrypting File System, so the “Encrypt contents to secure data” box is not available. Use Device Encryption to protect the whole drive, and a free tool such as 7-Zip with AES-256 to encrypt a single file with a password.
How do I encrypt a file on a Mac?
Open Disk Utility, choose File > New Image > Image from Folder (or Blank Image), select 256-bit AES in the Encryption menu, and set a password. The resulting disk image opens only with that password.
How do I encrypt a file with a password?
Use a tool that encrypts the file itself: 7-Zip with AES-256 on Windows, an encrypted disk image on a Mac, or File > Info > Protect Document > Encrypt with Password in Microsoft Office. Then share the password separately from the file.
Is a password-protected ZIP file encrypted?
It depends on the method. A ZIP created with AES-256, for example in 7-Zip, is properly encrypted, while the older ZipCrypto method is weak. Windows File Explorer’s built-in compressed folders do not add a password at all.
How do I encrypt a file to send by email?
Encrypt the file with a password using 7-Zip, a Mac disk image or Office’s Encrypt with Password, attach it, and send the password by phone or text. For large or very sensitive files, a passphrase-protected link that expires avoids attachment limits.
What happens if I forget the password to an encrypted file?
Usually the file cannot be recovered. Apple says you will not be able to open a disk image without its password, and Microsoft says Word cannot recover a forgotten document password, so store passwords in a password manager.
Does BitLocker encrypt files I send?
No. BitLocker and Device Encryption protect files stored on the drive, for example if a laptop is stolen. A copy you attach to an email or upload elsewhere is not protected by BitLocker.
Sources
This article draws on the following sources.
- Microsoft Support. How to encrypt a file or folder. support.microsoft.com
- Microsoft Learn. File Encryption (Encrypting File System). learn.microsoft.com
- Microsoft Support. Device Encryption in Windows. support.microsoft.com
- Microsoft Support. Protect a Word document with a password. support.microsoft.com
- Apple Support. Create a disk image using Disk Utility on Mac. support.apple.com
- Apple Support. Protect data on your Mac with FileVault. support.apple.com
- 7-Zip. 7-Zip file archiver. 7-zip.org
- NIST. FIPS 197: Advanced Encryption Standard (AES). csrc.nist.gov
- Canadian Centre for Cyber Security. Using encryption to keep your sensitive data secure (ITSAP.40.016). cyber.gc.ca
The Bottom Line
How to encrypt a file depends on where it is going. On your own laptop, turn on BitLocker, Device Encryption or FileVault. For a file that has to travel, encrypt the file itself with AES-256 and a strong password, and send that password by another route. Or skip the archive and send it through a passphrase-protected link that expires.
Encrypt what you store. For what you send, just SureSend it.