

To password protect a Word document on Windows, go to File, then Info, then Protect Document, and choose Encrypt with Password. Type the password twice and save the file. On a Mac, use Review, then Protect, then Protect Document. Anyone who opens the file then has to enter the password first.
You have a Word file to send. An employment contract. A client's financial summary. A letter with a health card number in it. Once it leaves your computer, you do not control where it goes.
This guide shows how to password protect a Word document step by step on Windows and Mac, what Word for the web can and cannot do, and why Restrict Editing and Mark as Final are not real protection. It also covers the mistake that undoes all of it: sending the password in the same email as the file.
Quick Summary
- Windows: File > Info > Protect Document > Encrypt with Password, then save the file.
- Mac: Review > Protect > Protect Document, then set a password to open, to modify, or both.
- Word for the web cannot add a password or edit a password-protected document. Use the desktop app.
- Restrict Editing and Mark as Final do not keep the content private. Only a password to open encrypts the file.
- Word cannot recover a lost password, and the password should never travel in the same email as the document.
How Do I Password Protect a Word Document on Windows?
To password protect a Word document on Windows, open it in the Word desktop app, select File, then Info, then Protect Document, then Encrypt with Password. Type a password, select OK, type it again to confirm, and save the file. The password applies from the next time the document is opened.
The steps, from Microsoft's support page:
- Open the document in the Word desktop app (Word for Microsoft 365, Word 2024, 2021, 2019 or 2016).
- Go to File > Info > Protect Document > Encrypt with Password.
- Type a password and select OK.
- Type the same password again and select OK to confirm.
- Save the file. Microsoft notes that saving makes sure the password takes effect.
Microsoft's support page also says Word passwords are case-sensitive and can be a maximum of 15 characters long. "Summer" and "summer" are different passwords, so tell your recipient exactly how it is typed.
Which File Format Should You Save In?
Save as a modern .docx file, not the old .doc format. According to Microsoft's Office encryption documentation, password-protected Open XML files such as .docx are encrypted by default with AES using a 256-bit key. Files saved in the older binary formats (.doc) can only be encrypted with RC4, which Microsoft says it does not recommend.
How Do I Password Protect a Word Document on a Mac?
To password protect a Word document on a Mac, open it in Word for Mac, go to Review, then Protect, then Protect Document. Under Security, enter a password to open the document, a password to modify it, or both, confirm each password, and select OK.
- Open the document in Word for Mac.
- Go to Review > Protect > Protect Document.
- Under Security, enter a password to open the document. Add a password to modify it if you also want to limit changes.
- Enter each password again to confirm, then select OK.
- Save the document.
For privacy, the password to open is the one that matters. Set it even if you also add a password to modify.
Can You Password Protect a Word Document in Word for the Web?
No. Microsoft's support page states that Word Online cannot password encrypt a document, and it cannot edit a password-encrypted document either. To add a password, open the file in the Word desktop app with Open in Word, and from then on use the desktop app to open and edit it.
This matters if your team works mostly in the browser or on OneDrive. Once you add a password, the people who need to edit the document must have the desktop version of Word. Plan for that before you lock a shared file.
Password to Open vs Restrict Editing: What Is the Difference?
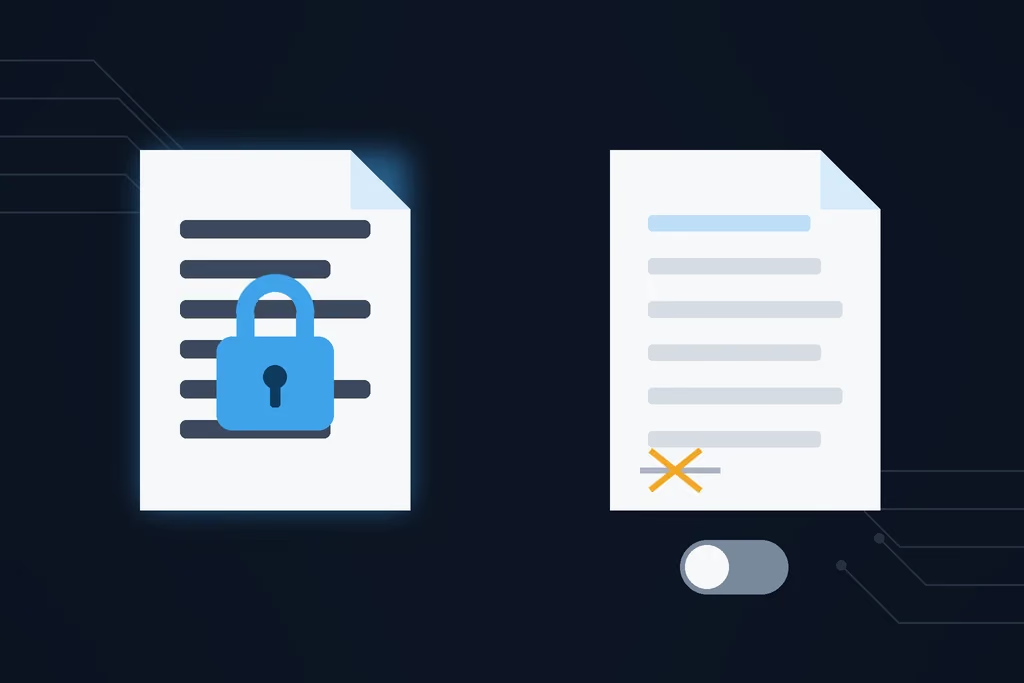
A password to open encrypts the Word document, so nobody can read it without the password. Restrict Editing and Mark as Final leave the content readable and only discourage changes. If the goal is to keep the document private, you need Encrypt with Password, not the editing options.
Restrict Editing
Restrict Editing is on the Review tab, in the Protect group. Microsoft's guide explains that you can mark a document as read-only and still allow changes to selected parts, for everyone or for named people. You can add a password so that only people who know it can remove the protection. It is useful for forms and templates. It does not stop anyone from reading the document.
Mark as Final
Mark as Final makes the file read-only and sets its status to Final. Microsoft is direct about it: "The Mark as Final command is not a security feature." Anyone who receives a copy can remove the status and edit the file.
Word Protection Options Compared
| Option | Where to find it | Hides the content | Stops edits | Good for |
|---|---|---|---|---|
| Encrypt with Password | File > Info > Protect Document (Windows) | Yes, encrypted | Yes, nobody can open it without the password | Confidential documents |
| Password to open (Mac) | Review > Protect > Protect Document | Yes, encrypted | Yes | Confidential documents |
| Restrict Editing | Review > Protect > Restrict Editing | No | Yes, except the parts you allow | Forms and templates |
| Mark as Final | File > Info > Protect Document | No | No, anyone can turn it off | Signalling a finished version |
How Strong Should a Word Document Password Be?
Use as many of Word's 15 characters as you can. The Canadian Centre for Cyber Security recommends a minimum of 12 characters for passwords, and passphrases of at least 4 words and 15 characters. Someone holding a copy of the file can keep guessing offline, so short passwords are the weak point.
The Canadian Centre for Cyber Security recommends passphrases because they are "longer and easier to remember" than random characters, and suggests building one from unrelated words, such as "Closet lamp Bathroom Mug". Use a different password for each document or client, so one leaked password does not open everything you have ever sent.
Keep a record of it in a safe place. Microsoft warns that if you lose or forget your document password, Word won't be able to recover it. IT admins can help only if their organization set up the DocRecrypt tool before the password was created.
How Do I Remove a Password From a Word Document?
To remove a password from a Word document, you need to know the current password. Open the document, enter the password, go to File, then Info, then Protect Document, then Encrypt with Password, clear the Password box, select OK, and save the file.
These steps come from Microsoft's support page, which is clear that you have to know the original password. Restrict Editing is removed separately, with Stop Protection in the Restrict Editing pane.
How Do You Send a Password-Protected Word Document Safely?
Send the password-protected Word document and its password through two different channels. Email the document, then share the password by phone call or text message. If both travel in the same email, anyone who gets into that inbox, or receives it by mistake, has the file and the key together.

- Check the address twice. Auto-complete picking the wrong "Chris" is one of the most ordinary ways files go astray.
- Do not reuse one password for every client. Once someone knows it, every file you sent them is open.
- Remember the copies. The protected document stays in your Sent folder and the recipient's inbox for years, long after the work is done.
Need the same document as a PDF? Our guide on how to password protect a PDF covers Acrobat, Preview and Word's own Save as PDF option. For other file types, see how to encrypt a file on Windows and Mac. And if you are unsure what email itself protects, read is email secure.
A Simpler Way to Send Sensitive Word Documents
A password protects the document, but you still have to deliver the file and the password, and the email copy stays in both mailboxes. This is where SureSend comes into the picture. SureSend is a Canadian secure file transfer service that sends files through a passphrase-protected link that expires on a date you choose. SureSend encrypts every file while it's sent and while it's stored (TLS in transit, AES-256 at rest).
Here is exactly how it works:
- Create a transfer. Sign in, add one or more recipient email addresses, upload your files, and choose an expiry date of up to 21 days.
- Set a passphrase. SureSend emails each recipient a secure link, but the passphrase is never included in that email. You share it separately, by phone or text.
- The recipient downloads. They open the link, enter the passphrase, and download the files. They do not need a SureSend account.
- Track and control it. Your dashboard shows when the transfer is retrieved. You can cancel it before it is downloaded, and it expires automatically.
Once you send, SureSend reminds you to share the passphrase separately, the same rule that applies to a Word document password.
Each transfer allows one successful download. If the download is interrupted, the recipient can try again until one download completes; after that the link cannot be used again, and the transfer's status updates to Retrieved.
Your recipient needs no account and no particular version of Word. You can start on the free Starter plan. Pro is $7 CAD/month plus applicable taxes, with transfers up to 2 GB. SureSend doesn't keep your files forever; they're removed when the transfer expires.
| Password-protected Word file by email | SureSend | |
|---|---|---|
| Who sets the password | You, per document | You, per transfer (passphrase) |
| How the password travels | Up to you; often wrongly in the same email | Never in the email; you share it separately |
| Recipient needs | Word desktop app (Word for the web cannot open it) | A browser and the passphrase |
| Expiry | None; copies stay in inboxes | A date you choose, up to 21 days |
| Delivery status | None | Retrieved, Expired or Cancelled on your dashboard |
| Works for other file types | Word documents only | Any file |
Send Word Documents Without the Inbox Copy
SureSend encrypts every file while it's sent and while it's stored: TLS in transit and AES-256 encryption at rest. Send up to 2 GB per transfer, protect it with a passphrase you share separately, set an expiry of up to 21 days, and see when it is retrieved. Your recipient needs no account. New subscribers get 30 days of Pro free, with no credit card required. Start sending securely for free.
A Quick Workflow That Works
For sending a confidential Word document, this routine covers most situations:
- Save the document as .docx, not .doc.
- Use Encrypt with Password (Windows) or a password to open (Mac), not only Restrict Editing.
- Use a long password, different for each client, and store it somewhere safe.
- Send the file, then share the password by phone or text. Never in the same email.
- For large files, several files, or anything you do not want sitting in an inbox, use a passphrase-protected transfer with an expiry date.
Passwords are one layer. Our guide to document confidentiality covers the everyday habits that prevent most leaks, and our guide to sending documents securely compares the safer options.
Frequently Asked Questions
Can you password protect a Word document?
Yes. In the Word desktop app on Windows, use File, Info, Protect Document, Encrypt with Password. On a Mac, use Review, Protect, Protect Document and set a password to open.
How do I password protect a Word document on a Mac?
Open the document in Word for Mac, go to Review, then Protect, then Protect Document. Under Security, enter a password to open the document, confirm it, select OK and save.
Can I password protect a Word document in Word for the web?
No. Microsoft states that Word for the web cannot password encrypt a document or edit one that is password-encrypted. Use Open in Word to add the password in the desktop app.
Is a password-protected Word document encrypted?
Yes, when you use Encrypt with Password or a password to open. Microsoft's documentation says .docx files are encrypted by default with AES using a 256-bit key; older .doc files use RC4, which Microsoft does not recommend.
What if I forget the password to my Word document?
Microsoft says Word won't be able to recover a lost or forgotten document password. IT admins can help only if they set up the DocRecrypt tool before the password was created.
Does Restrict Editing protect a Word document?
Restrict Editing limits changes but does not hide the content, so anyone who opens the file can still read it. To keep a document private, use Encrypt with Password.
How does SureSend protect files?
SureSend encrypts files in transit (TLS) and at rest (AES-256), and SureSend manages the encryption keys. The passphrase is never included in the email with the link.
Sources
This article draws on the following sources.
- Microsoft Support. Protect a Word document with a password. support.microsoft.com
- Microsoft Support. Remove a password from a document. support.microsoft.com
- Microsoft Support. Allow changes to parts of a protected Word document. support.microsoft.com
- Microsoft Support. Help prevent changes to a final version of a file. support.microsoft.com
- Microsoft Learn. Cryptography and encryption in Office 2016. learn.microsoft.com
- Canadian Centre for Cyber Security. Best practices for passphrases and passwords (ITSAP.30.032). cyber.gc.ca
The Bottom Line
Knowing how to password protect a Word document takes a minute: Encrypt with Password on Windows, Protect Document on a Mac, and a .docx file for strong encryption. Restrict Editing and Mark as Final are not substitutes. The weak point is rarely the encryption. It is the password travelling in the same email as the file.
Lock the document. Then just SureSend it.